Last year, I wrote about removing the Tesco customisations from my Hudl and, for a while, it worked well. Over time I found that the device slowed down and I suspect it may have been infected with some malware (I did use it to visit some of the murkier parts of the Internet, not realising how prone to malware Android is… I now have Malwarebytes installed).
Stuck in a 1.3.1 update loop
I also found I couldn’t install the latest updates that Tesco have provided (sadly not KitKat, but at least some bug fixes) and the device had say on a shelf, unused and unloved, for several months
Oops! #hudl pic.twitter.com/3cY2un6qP0
— Mark Wilson (@markwilsonit) January 6, 2015
Following Tesco’s advice, I performed a factory reset via the Android System Recovery (Power and Volume up) but it turns out that only wipes the data/cache, after which I was stuck in a loop whereby whilst running the Hudl’s initial setup it wanted to install the latest update, failed and couldn’t go any further. It was time to go geek and re-flash the device.
(re)Flash!
[Ah ah, saviour of the universe]
I downloaded the Stock Hudl ROM and the Rockchip Batch Tool (RKTools) using Paul O’Brien’s advice on MoDaCo. The next problem was getting the RKTools to recognise the Hudl to reflash it.
My initial attempts were on a Windows 8 machine, then I tried Windows 7 instead (both were x64 versions) – I’m not sure if this made any difference though and it was an Archos tablet forum post that got me moving in the right direction:
- Hold the reset and volume up buttons for about 3 seconds (it’s a bit trial and error) – you need a completely black screen – the if battery icon or Android open belly are showing then the device is not in the correct mode.
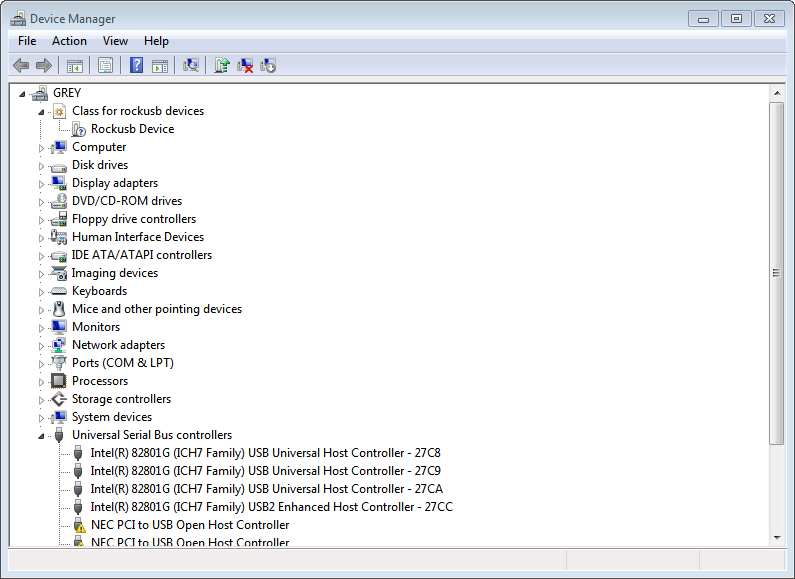
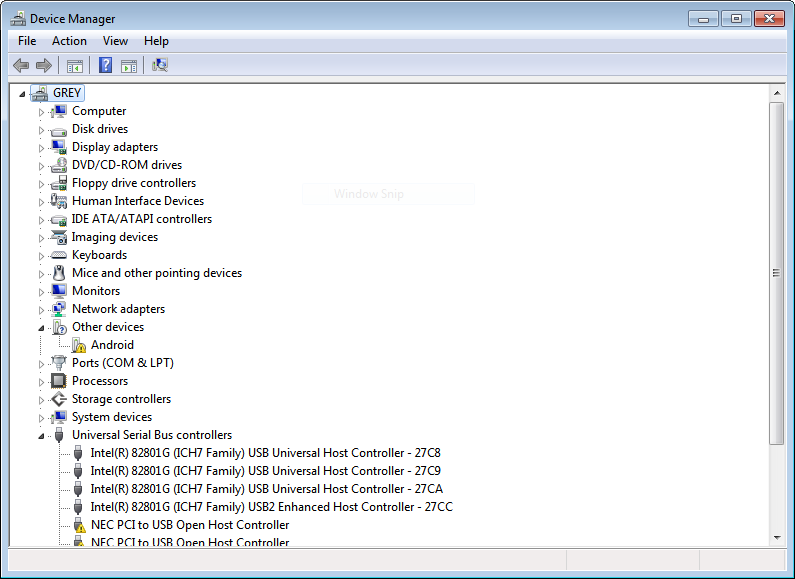
- If RKTools needs drivers, they are supplied with the software. If all is well then you should see a Rockusb device in Device Manager instead of an Android device with a warning triangle:
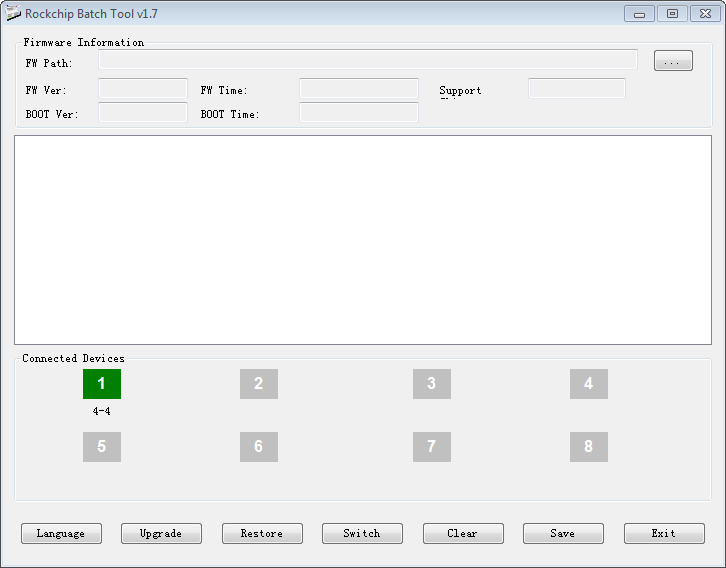
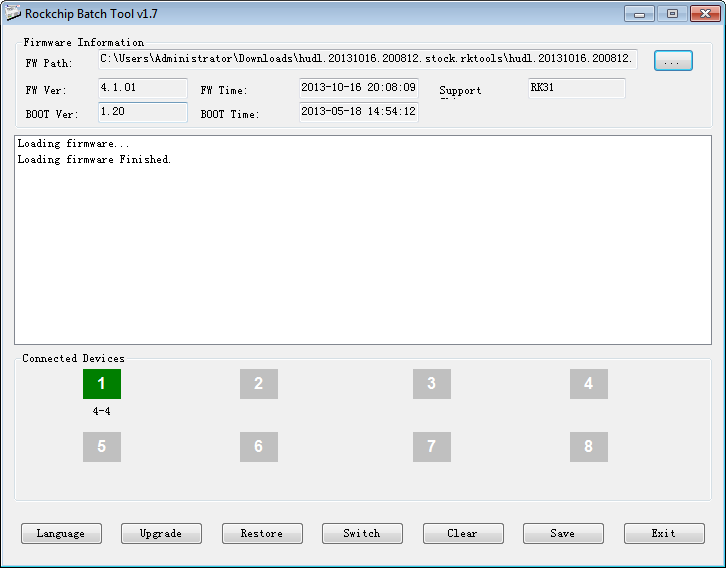
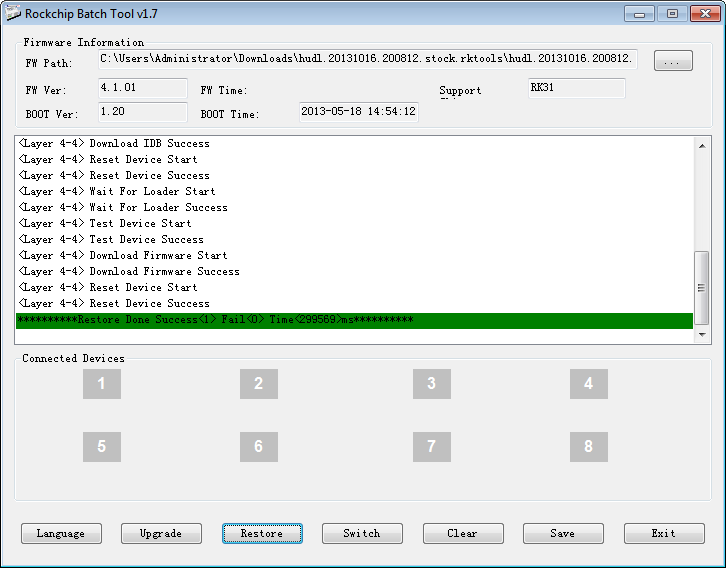
After this, RKtools could see my Hudl (green icon indicating a connected device) and I restored the stock Tesco firmware, as shown in the next few screenshots:

Setup
After re-flashing, running through the setup was just as when the Hudl was new. After connecting to Wi-Fi, signing in to Google, etc. it will look for updates. This time the 1.3.1. update should be successful (the problem with that update is the SystemUI.apk file that was replaced when removing the Tesco customisations).
I might remove the Tesco [T] from the bottom of the screen again one day but for now the device is working more reliably for me with normal apps like Kindle, Facebook, iPlayer, etc. and I only really need something I can watch a bit of telly/social media/read a book on!
Mark do you still have those files and the tool as the link to diwnload id dead?
Sorry Peter, I’ve had a look around on some old hard drives and still can’t find them. Mark