Some thoughts on Microsoft Windows Extended Security Updates…

Technology moves quickly. And we’re all used to keeping operating systems on current (or n-1) releases, with known support lifecycles and planned upgrades. We are, aren’t we? And every business application, whether COTS or bespoke, has an owner, who maintains a road map and makes sure that it’s not going to become the next item of technical debt. Surely?

Unfortunately, these things are not always as common as they should be. A lot comes down to the perception of IT – is it a cost centre or does it add value to the business?

Software Assurance and Azure Hybrid Benefit

Microsoft has a scheme for volume licensing customers called Software Assurance. One of the benefits of this scheme is the ability to keep running on the latest versions of software. Other vendors have similar offers. But they all come at a cost.

When planning a move to the cloud, Software Assurance is the key to unlocking other benefits too. Azure Hybrid Benefit is a licensing offer for Windows Server and SQL Server that provides a degree of portability between cloud and on-premises environments. Effectively, the cloud costs are reduced because the on-prem licenses are released and allocated to new cloud resources.

But what if you don’t have Software Assurance? As a Windows operating system comes to the end of its support lifecycle, how are you going to remain compliant when there are no longer any updates available?

End of support for Windows Server 2012/2012 R2

In case you missed it, Windows Server 2012 and Windows Server 2012 R2 reached the end of extended support on October 10, 2023. (Mainstream support ended five years previously.) That means that these products will no longer receive security updates, non-security updates, bug fixes, technical support, or online technical content updates.

Microsoft’s advice is:

“If you cannot upgrade to the next version, you will need to use Extended Security Updates (ESUs) for up to three years. ESUs are available for free in Azure or need to be purchased for on-premises deployments.”

Extended Security Updates

Extended Security Updates are a safety net – even Microsoft describes the ESU programme as:

“a last resort option for customers who need to run certain legacy Microsoft products past the end of support”.

The ESU scheme:

“includes Critical and/or Important security updates for a maximum of three years after the product’s End of Extended Support date. Extended Security Updates will be distributed if and when available.

ESUs do not include new features, customer-requested non-security updates, or design change requests.”

They’re just a way to maintain support whilst you make plans to get off that legacy operating system – which by now will be at least 10 years old.

If your organisation is considering ESUs, The real questions to answer are what are their sticking points that are keeping you from moving away from the legacy operating system? For example:

  • Is it because there are applications that won’t run on a later operating system? Maybe moving to Azure (or to a hybrid arrangement with Azure Arc) will provide some flexibility to benefit from ESUs at no extra cost whilst the app is modernised? (Windows Server and SQL Server ESUs are automatically delivered to Azure VMs if they’re configured to receive updates).
  • Is it a budget concern? In this case, ESUs are unlikely to be a cost-efficient approach. Maybe there’s an alternative – again through cloud transformation, software financing, or perhaps a cloud-to-edge platform.
  • Is it a cash-flow concern? Leasing may be an answer.

There may be other reasons, but doing nothing and automatically accepting the risk is an option that a lot of companies choose… the art (of consulting) is to help them to see that there are risks in doing nothing too.

Featured image by 51581 from Pixabay

Copy NTFS permissions from one folder/file to another

This content is 8 years old. I don't routinely update old blog posts as they are only intended to represent a view at a particular point in time. Please be warned that the information here may be out of date.

I’m working with a customer who is migrating from on-premises datacentres to the cloud – using a virtual datacentre in Microsoft Azure. One of the challenges we have is around the size of the volumes on a file server: Azure has a maximum disk size of 1023GB and the existing server has a LUN attached that exceeds this size.

We can use other technologies in Windows to expand volumes over multiple disks (breaking the <1TB limit) but the software we intend to use for the migration (Double Take Move) needs the source and target to match. That means that the large volume needs to be reduced in size, which means moving some of the data to a new volume (at least temporarily).

One of my colleagues moved the data (using a method that retained permissions) but the top level folders that he created were new and only had inherited permissions from their parent. After watching him getting more and more frustrated, manually configuring access control lists and comparing them in the Windows Explorer GUI, I thought there had to be a better way.

A spot of googling turned up some useful information from forums and this is what I did to copy NTFS permissions from the source to the target (thanks to Kalatzis Stefanos for his answer on Server Fault).

First of all, export the permissions from the source folder with the icacls.exe command:

icacls D:\data /save perms.txt [/t /c]

/c is continue on error; /t is to work through subfolders too

Then, apply these permissions to the target volume. They can be applied at volume level, because the export includes the file names and an associated ACL (i.e. it only applies to matching files)

icacls D:\ /restore perms.txt

But what if the source and destination folders/files have different names? That’s answered by Scott Chamberlain in another post, which tells me I can just edit my perms.txt file and change the file/folder name before each ACL.

By following this, I was able to export and re-apply permissions on several folders in a few minutes. Definitely a time saver!

Reset the password for a Windows virtual machine in Azure

This content is 8 years old. I don't routinely update old blog posts as they are only intended to represent a view at a particular point in time. Please be warned that the information here may be out of date.

Imagine the scenario: you have a virtual machine running in Azure but something’s gone wrong and you don’t have Administrative credentials to log in to Windows. That’s a more common occurrence than you might expect but there is a workaround: in Azure there an option to reset the local administrator password.

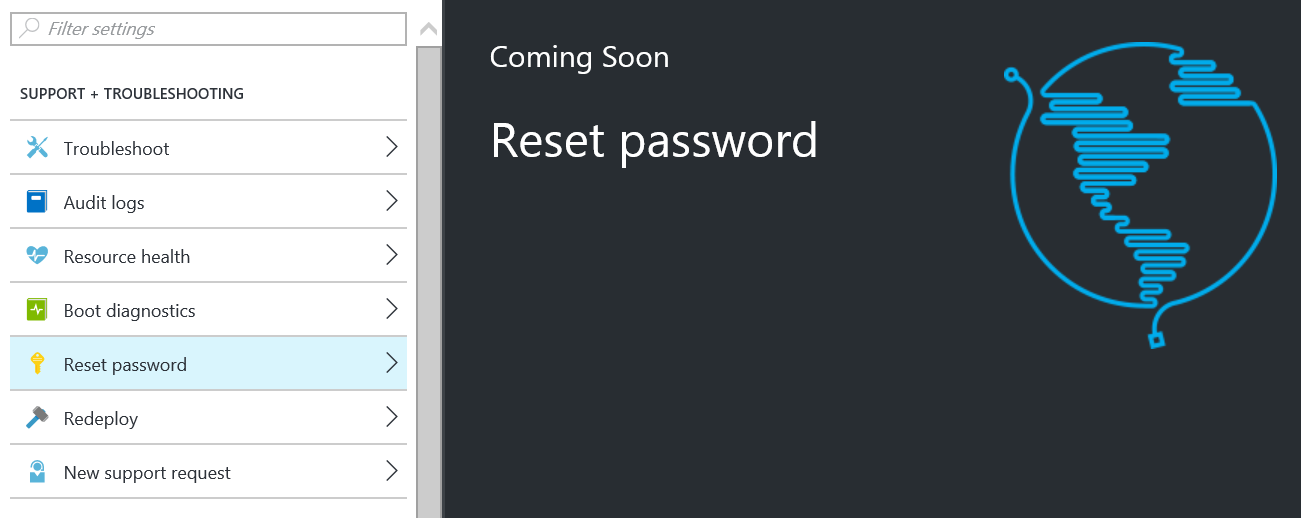
Unfortunately, that capability hasn’t been implemented yet in the management portal for Azure Resource Manager but it is available in Microsoft Azure PowerShell.

Reset Password - Coming Soon

I found the following commands worked for me (based on a blog post by Dan Patrick), resetting the built-in administrator account for the defined server in the defined Resource Group to be called DisabledAdmin (after which it won’t be disabled any more but after unlocking the server and creating an alternative administrator, the built in account can be disabled again) with a GUID for the password:

$rgName = "Example-Resource-Group"
$vmName = "SERVERxxx"
$extName = "VMAccessAgent"
$userName = "DisabledAdmin"
$password = [guid]::newguid()
$location = "westeurope"
Set-AzureRmVMAccessExtension -ResourceGroupName $rgName -VMName $vmName -Name $extName -UserName $userName -Password $password -Location $location

(of course, you’ll need to take a note of that GUID if you want to log in to the account!).

The VM Access Extension can be called anything you like (the MSDN reference for Set-AzureRmVMAccessExtension gives more information); however, as noted in the Microsoft Azure documentation (How to reset the Remote Desktop service or its login password in a Windows VM):

“You can reset remote access to your VM by using either Set-AzureRmVMExtension or Set-AzureRmVMAccessExtension

“Both commands add a new named VM access agent to the virtual machine. At any point, a VM can have only a single VM access agent. To set the VM access agent properties successfully, remove the access agent set previously by using either Remove-AzureRmVMAccessExtension or Remove-AzureRmVMExtension. Starting from Azure PowerShell version 1.2.2, you can avoid this step when using Set-AzureRmVMExtension with a -ForceRerun option. When using -ForceRerun, make sure to use the same name for the VM access agent as set by the previous command.”

So, by using a known name for the VM Access Extension (VMAccessAgent), I can avoid potential issues later.